Introduction
When you tally up all the distance elevators travel in a year, the numbers almost boggle the mind. There are more than 1 million elevators in North America alone, and every year they rack up 1.36 billion miles – that’s more than 2,700 round trips to the moon and back.
Over time, all that up and down can lead to a lot of serious wear and tear. Eventually, building owners have to think about fixing up their elevators.
Which leads us to the topic of this white paper … here are seven mistakes to avoid when renovating an elevator.
Mistake # 1 – Forgetting about elevators as part of interior renovations.
Here’s the scenario: You plan to refurbish the interior public spaces of your building … mainly lobbies, corridors, waiting areas and so on. Now, think of people moving through those beautifully restored spaces and stepping into an old, damaged, poorly lit elevator cab. Sort of diminishes the person’s overall experience, right?
You could spend millions on a major interior renovation … or maybe just thousands on a new coat of paint and other items to refresh the décor. Leaving an old, damaged, dark and dingy elevator cab out of the renovation budget may leave your beautiful upgrade project with a serious black eye.
It’s said you only get one chance to make a first impression. We’d argue that means elevators need to be a major component of any interior renovation project.
Mistake #2 – Not tracking how your elevators are used.
Not every facility has the advantage of an additional freight elevator for moving everything from furniture to heavy equipment to dollies with regular smaller deliveries … think office supplies and such.
You might be surprised to see that regular passenger elevators could be at risk of serious damage. We call these hybrid elevators – cabs that serve more than one purpose. They have to handle passengers and a lot more.
A classic example would be a college dorm elevator where twice a year there is a huge influx of freight as students move in and out of the dorm – everything from suitcases to bunk bed frames to mini fridges.
Point being: Your elevator cabs may be exposed to a lot more damage than you think. So, it’s wise to select durable wall protection that can stand up to the wear and tear – high-impact wall panels, metal handrails (that also act like wall guards), toe kicks, and so on.
Mistake #3 – Only focusing on the elevator mechanicals or electronics
Riders will not notice anything new and will still feel like they are in an “old” elevator.
Let’s say you budget $50,000 or $100,000 on only elevator equipment upgrades … no arguing that’s a lot of money. And making sure the elevator is safe and operationally sound is just common sense. But, here’s the trap of only thinking about the mechanicals and forgetting about the cab interior …
They can’t tell you just spent big bucks replacing the jack, power unit, controller and door operator. When thinking elevator renovation, you should consider both mechanical and interior upgrades.
Mistake #4 – Not paying attention to disability accommodation

Here’s a solid piece of advice that could save you real headaches and hard dollars.
The Americans with Disabilities Act (ADA) has specific language regarding accommodation within elevators and the surrounding elevator landing space.
We call your attention to the following sections of the law:
- Required Compliance [§206.6]
- Elevators [§407]
- Destination-Oriented Elevators
- Existing Elevators (Alterations)
And there’s more … if you alter access paths in a renovation – especially between floors – those alterations may have ADA impacts.
In the case of a bank of two or more elevators, changing one car may mean all cars in the elevator bank may need to be altered per ADA Guide Sec. 407.
Finally, there are also clear cab dimensions for both the interior and door width spelled out in the ADA. When remodeling elevator cabs and entrances, pay particular attention to the finished dimensions of both to remain in compliance and avoid post-construction inspection red flags. Some inspectors can be extremely picky on measurements – so, thinking “close enough” might get you into hot water.
Mistake #5 – Watch the weight!
Interior materials like stone and glass certainly can deliver a high-end décor effect, and there’s no arguing with these choices – they can be positively stunning. Except … stone and glass can be a lot heavier than other wall-panel materials.
It’s important to be mindful of The Golden 5% Rule: After renovations, the cab must be within +/- 5% of its previous (original) weight. For example: a pre-renovation weight = 2,100 lbs. capacity) people and/or freight) + 2,150 lbs. dead weight (actual weight of the elevator) means the post-renovation weight must stay in the range of 4,038 – 4,463 lbs.
Also, be aware some states may require additional load testing before certifying a cab after renovation. So, check the codes in your jurisdiction.
Mistake #6 – Realistic planning for and communication of elevator downtime.
Depending on the scope of the project, elevators could be down for a day or two, or possibly longer in the effect of a major overhaul. With renovation projects, be sure to communicate adequate notice of the outage to building owners and tenants.
TIP: One way to minimize downtime is to select cab interior systems that actually speeds up turnaround. Some panel systems use quick, interlocking hardware that makes swaps go quickly, thus reducing the overhaul to a day or less … sometimes a lot less. Also bear in mind that the more “custom” you want in your cab means potentially longer installation times.
Mistake #7 – Discounting or ignoring the risks of DIY installations
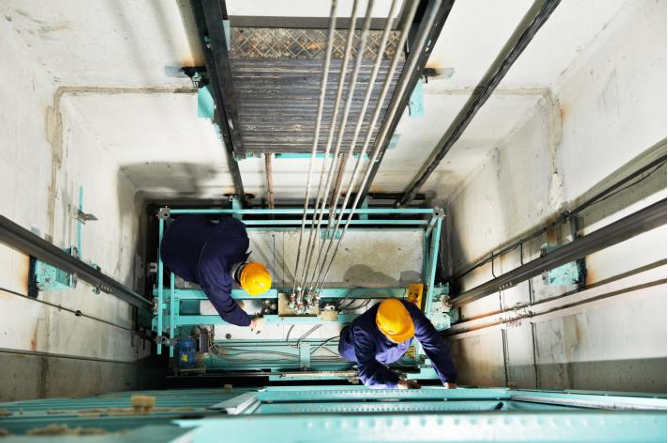
For installations – if the facility or building owner wishes to attempt a self-performed installation, they need to check state and local codes. Most of the time such installations will require a licensed elevator technician to do any cab alterations. If ceilings are involved and/or hoistway access is impacted, a licensed technician is usually needed. Also door keys to gain access to the hoistway will be required.
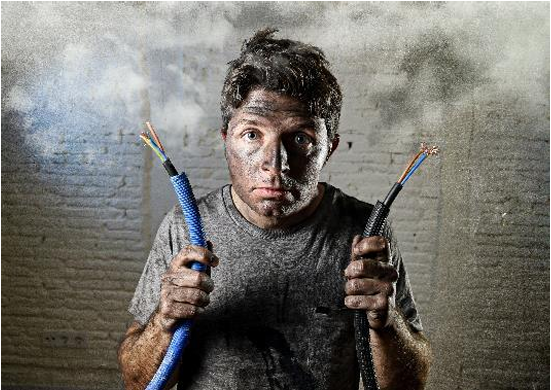
The key point here is: Is it worth saving a few bucks to put an employee’s body or life at risk? If proper Lock Out Tag Out safety procedures are not followed, accidents can be fatal.
One other thing to watch for is that the cost of installations can also vary greatly depending on who you use as well as how custom the cab is. Simpler designs or kits mean less install time and lower cost. In our experience, we have seen differences totaling several thousand dollars on just the install portion between different companies for the same project. Another factor is whether you must use union labor. These are all things to consider and have a cost impact on the job.
BONUS Mistake to Avoid: Be careful on your flooring choices
One final note: Be careful on choosing the flooring … continuing a marble floor from the elevator lobby into the cab may be aesthetically amazing, but that flooring choice could add a large amount of weight to the cab … and potentially violate the +/- 5% golden rule.
Also, pay attention to the fit – and specifically the thickness – of the flooring you’re specifying. If the flooring is too thick, it could prevent swing-out control panels from opening. And, if an inspector can’t access the panel, you’re not going to get a green light on operating the elevator.
The result: Costly re-work and more downtime.