Introduction
It's easy to do. We frequently move through our buildings and don't really pay attention to our surroundings. That's because we're preoccupied with getting from Point A to Point B.
However, if you look – and we mean really look carefully – you'll begin to spot areas where damage has started to harm your building's appearance – dinged up, scuffed and gouged walls, corners and doors; taped-up paper "signs;" shabby window treatments; broken bathroom tiles … the list can be seemingly endless.
When it comes to your customers, guests or tenants, you only get one chance to make a first impression, and a shoddy interior can harm your brand and the user experience.
This white paper gives you a checklist to conduct your own Facility Appearance Audit, as well as product solutions that help you take back the beauty of your facility, and keep your building looking newer longer.
View your facility through the eyes of a newcomer
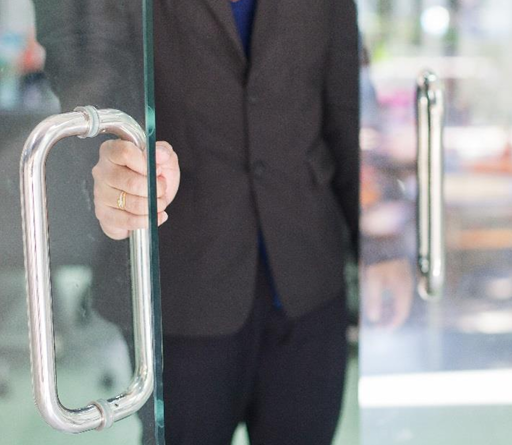
Take a tour of your facility with the eye of a newcomer and you’ll notice dozens of consumer turnoffs, from scarred doorjambs and soiled carpet, to hand-lettered signs taped to the walls.
We begin with asking you to follow our line of logic. Much of the following advice is drawn from two experienced senior housing administrators. Now before you dismiss our thesis as "This doesn't apply to me," hold on.
We believe the advice offered by Phyllis Thornton and Christine Wirthwein fits for any facility catering to a consuming public, and it all hinges on this key statement:
Substitute "your facility" with "your hotel," "your hospital," "your office building," "your restaurant," "your school," or "your store" and you get the picture.
So, the key is to not think "Oh, that's just our lobby," and instead think, "I'm entering the building for the very first time … what might I see?"
We will state here that the user experience starts in the parking lot and the sidewalk, but we're going to focus on the interior of your building … so, the best advice we can give is: Start your audit at your front door.
You need to view your facility in a 3D “sphere”

One of the habits facility staff needs to develop is to use "spherical vision" – that's our term for making sure to look all around and up and down. Meaning: We look at walls and doors because those are in our normal visual plane. And these surfaces are a good place to start. But when conducting an Appearance Audit, don't forget to also look up and down – meaning at the floor and ceiling as well.
We know this suggestion seems almost a forgone conclusion – but missing a water-stained or crumbling ceiling tile or a light bulb that's out or a chipped floor tile means you've missed a potential appearance flaw. Or worse, with water-staining, you may miss a serious rain infiltration or plumbing problem that needs to be addressed.
New can get old really fast … real-life examples

The following request recently came from the office manager at a pediatric clinic in Ohio:
"We recently repainted, but our check-in window seems to get a lot of scuffs/marks already. Looking at adding wall panel to bottom half of wall to protect it."
We'll admit that facility appearance upkeep is a never-ending cycle … just when you put in all new stuff, it isn't long before the damage starts to show. We'll add that "value engineering" interior protection products out of a new construction or major renovation budget can be penny-wise and dollar foolish in the long term.
More real life: A major retail chain did not dial interior protection into their construction standards for their new stores. Almost like clockwork, about six months after the grand opening, the store manager called to complain of battered checkout lanes, scratched walls and halls in the fitting rooms, etc. The manager's tale of woe inevitably ends with: "I need some corner guards, wall guards and cart bumpers." Unfortunately, we hear this time and time again.
Moral of the story: There's wisdom in using life-cycle costing vs. first-time costs to enhance user satisfaction while reducing costs (from damage and repair) over the long term.
Accounting for Opportunity Cost
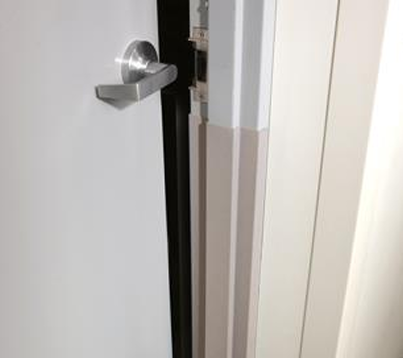
As far as we know, there has been no government research project launched to clone skilled tradesmen and women. That means: if a workman or carpenter is assigned to fix that chronic problem corner it means there’s some other project that goes undone.
As an example, a school in our area sent around a painter on a rolling stool every month to touch up the paint on all the school’s door frames. That maintenance chore was scratched off the list once they installed custom-formed frame guards.
Protecting interiors reduces the amount of fix-ups that frees staff for bigger, more-important projects.
Another hidden cost: The chronic “do over”
Just about every facility has a handful of areas that are constantly getting bashed or slammed. Besides doors and door frames, it's usually a corner or section of wall in high-traffic areas. If the damage is in a public space, you don't want to leave it looking wrecked, so either someone on staff or a hired contractor is engaged to fix the damage again … and again … and again.
When conducting your appearance audit, pay particular attention to these areas, then plan to upgrade your interior protection to reduce or prevent the chronic – and costly – "do-over."
Standing up to new cleaning protocols
With the COVID-19 pandemic of 2020, one result for building owners and facilities staff became crystal clear: The old style of cleaning was not going to work in thwarting the spread of germs. The new normal requires increased disinfecting of surfaces – up to several times an hour – and to make sure the proper bactericides and virucides are used.
And the chemical agents employed need to be effective, which means they are going to be stronger than traditional cleaners. The following list shows some of the EPA approved disinfectants, with several that are used in hospital environments:
- Household Bleach (undiluted)
- Isopropyl Alcohol
- Hydrogen Peroxide 3%
- Lysol® Disinfectant Spray
- Clorox® Germicidal Bleach 8.25%
- All Purpose Virex® Disinfectant
- Q.T.® Plus Disinfectant
- Spor-Klenz® Ready-to-Use Sterilant
- Purell® Gel
- Purell® Foam
So, what does this have to do with maintaining a facility's appearance? A lot! For architects, interior designers, and facilities management and staff, it will be important to make sure the materials they choose can stand up to these harsher chemicals and more frequent cleaning, and not have their appearance degrade.
Don’t forget: Elevators are interiors, too
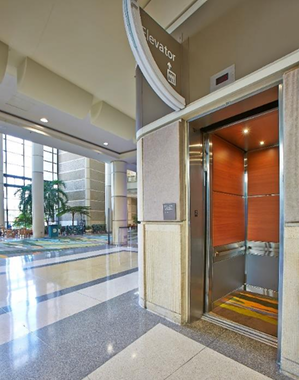
Over time, elevator interiors can get damaged … especially if the cab is used for both passengers and freight. Even with the best padded intentions, freight and furniture movers and delivery drivers ding up, gouge and scuff walls with dollies, carts and crates.
Then there’s the simple aesthetics – styles change and a cab’s interior can start to look dated. Throw in damage and it’s a one-two punch of ugly. Then add in flickering fluorescent bulbs and it’s the trifecta of a not-so-pleasant ride.
During your audit walk-around, poke your head into every elevator and take a 3D spherical look around.
A final word about expansion joints
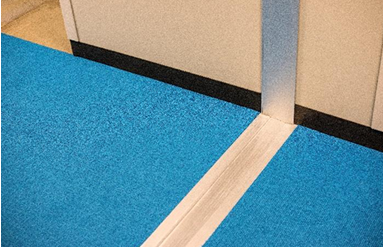
You may not even know that your building has them… but just about every building does. The often overlooked expansion joint helps your building handle the rigors of thermal and seismic movement. During your audit, take a look at the expansion joint covers. You might be surprised by the amount of wear and tear these workhorses endure – after several years of hard traffic, the joint covers could end up pretty battered. Oftentimes, a simple cover plate retrofit can be the icing on an interior renovation.